It's critical that your sellers engage with potential customers at every stage in the sales cycle. Knowing how to properly engage at each step can be a challenge for many sales professionals. Brand Wings allows you to easily organize content and sales tools around selling stages so you can be sure your sellers are properly equipped to win more deals. In this blog article we'll take a look at how to do this.
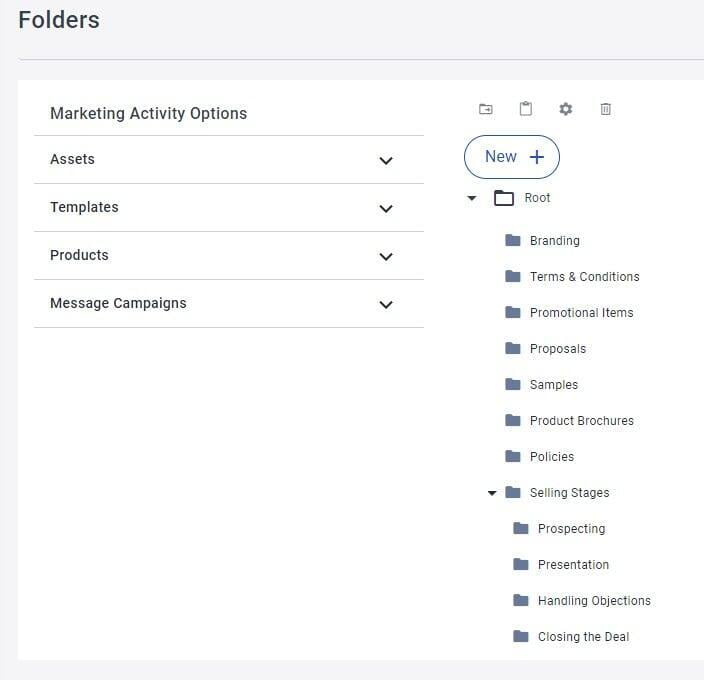
The first step is to identify your selling stages. In this example, we will use Prospecting, Presentation, Handling Objections, and Closing the Deal. After you have identified these stages, you want to create a folders for each stage, possibly organized under a single folder. In the admin application, go to Portal-->Folders to start defining your folders. In the screenshot below, you can see we created a folder called "Selling Stage" and added Folders to correlate with each selling stage below it.
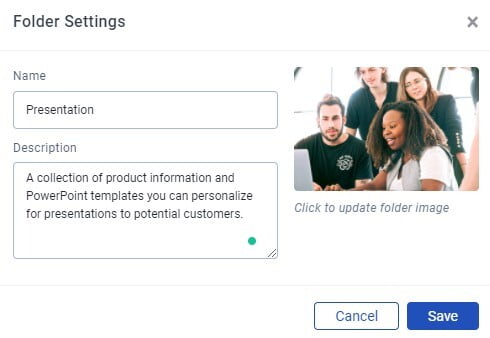
When creating or editing folders, we strongly recommend you provide a brief description of the folder and supply an image to represent the folder.
To edit a folder already created, select the folder and then click/tap the gear icon above.
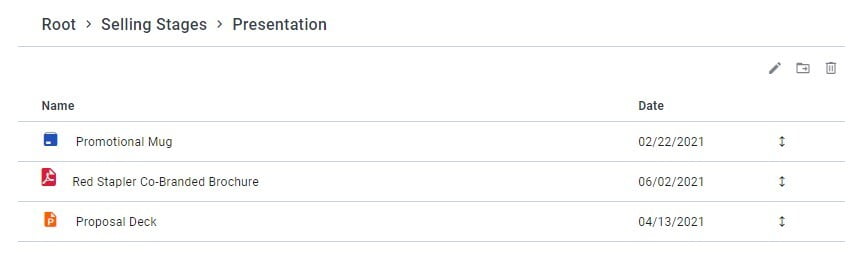
After you create your folders, you can drag content into each of those folders. Expand the options on the left to find the Asset, Product, Template, and Message Campaigns that you would like to add to the folders. Selecting a folder will show the tools that you have added to that folder. You can select and drag the items to change their order within the folder.
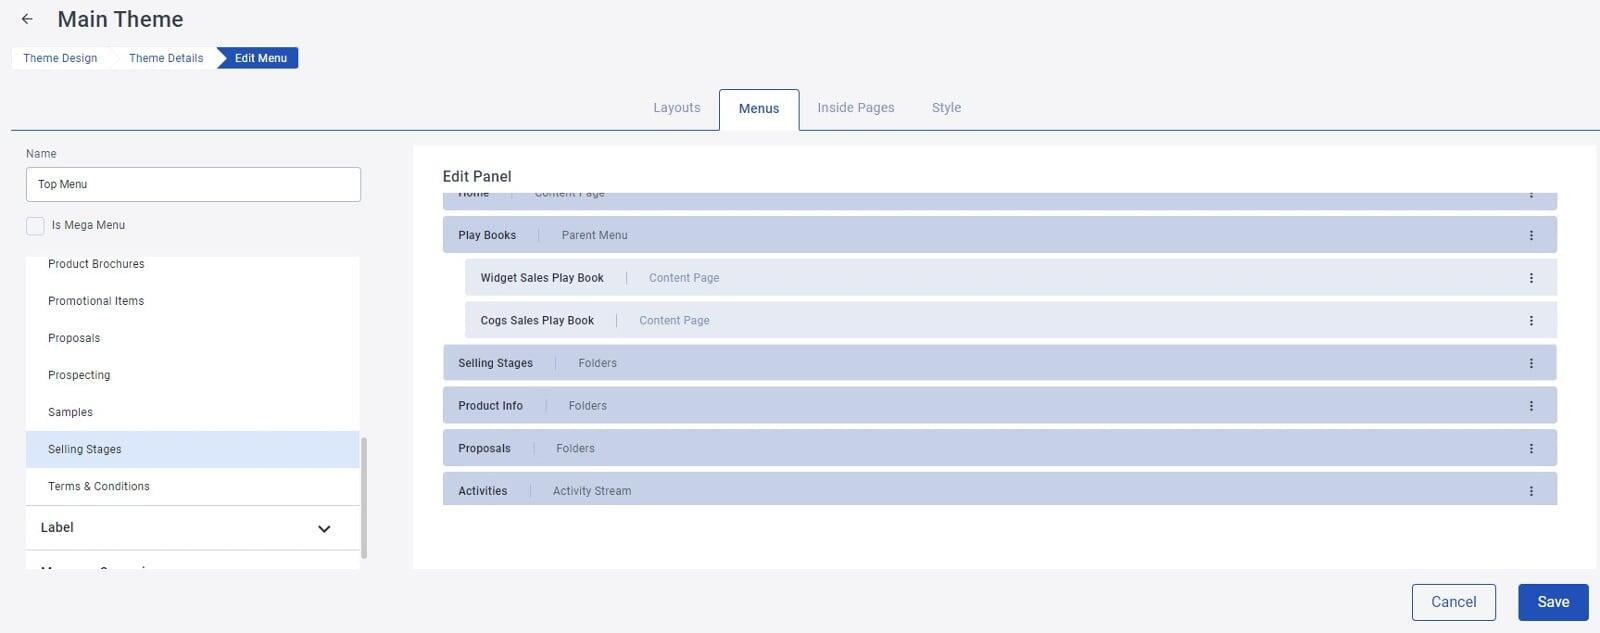
As a reminder, you may need to add a reference to this in your portal navigation, depending on the structure of your portal. In this example below, I am dragging the "Selling Stage" folder I created into the navigation menu:
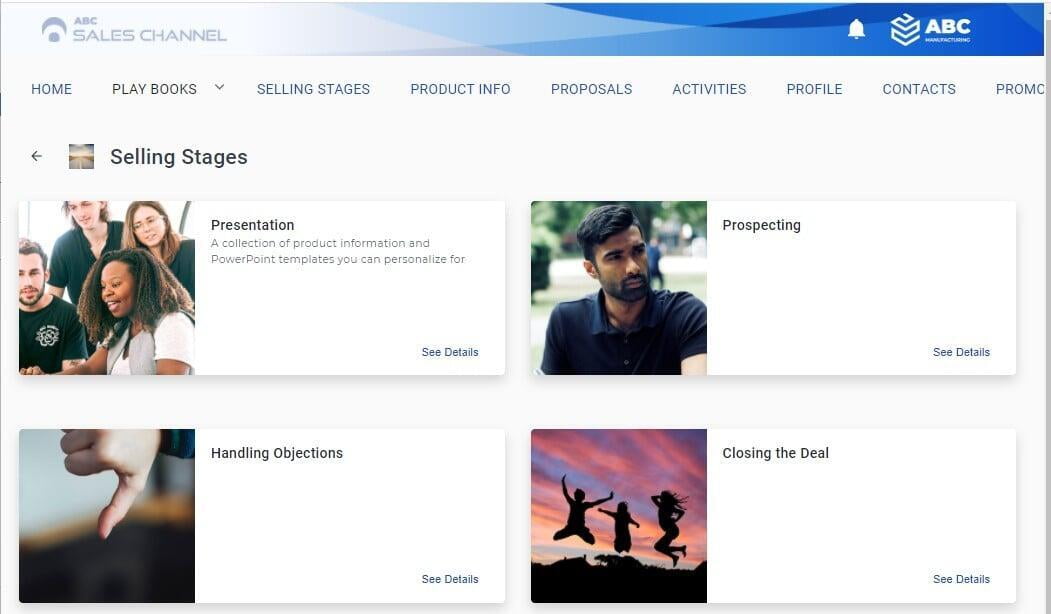
That's it! Your newly created folders and folder items will now be available to your sellers in the portal: