Brand Wings just added a new email campaign capability. You can define email campaign templates, publish in your sales portal, and allow your sales teams to send email campaigns to their contacts. Both you and your sales teams will receive helpful data showing the effectiveness of the email campaign. In this blog article we will step through creating and sending an email campaign.
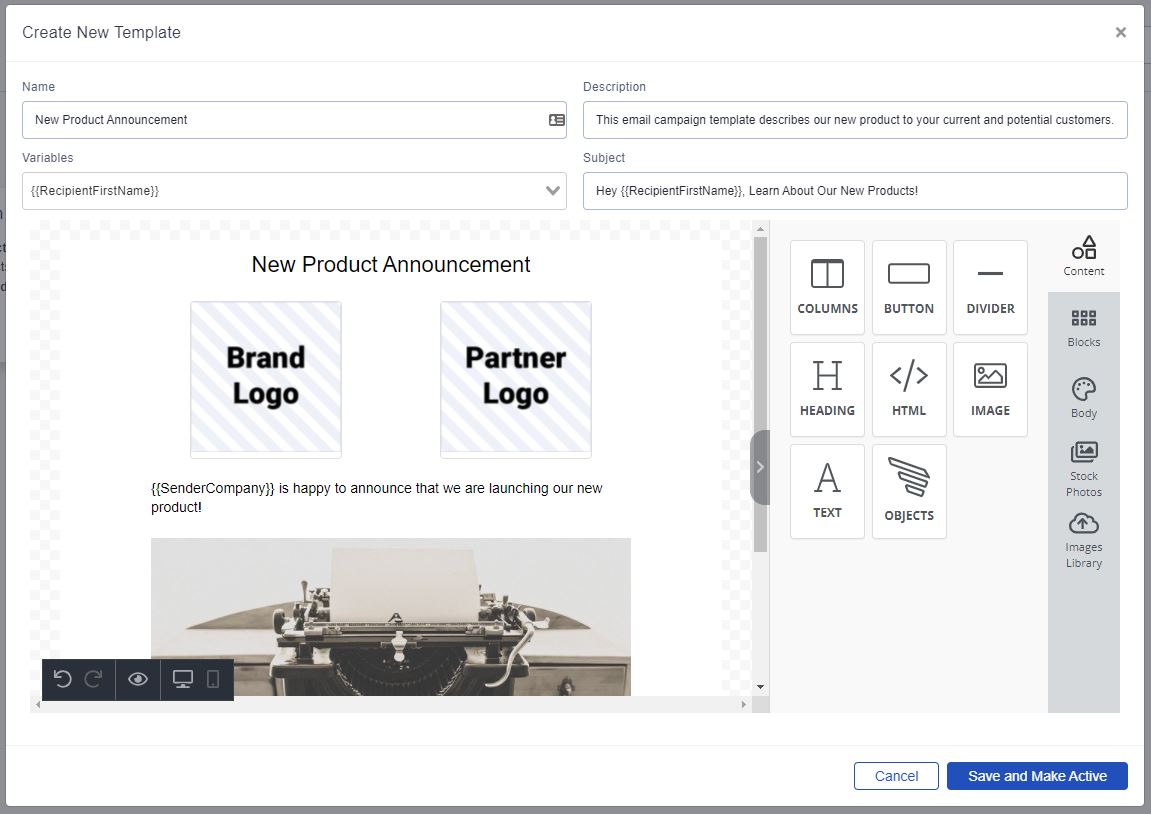
Important Note: adding an unsubscribe option is highly suggested. The unsubscribe link appears as a merge tag. You can add this unsubscribe option by adding the text widget to the design area and then inserting the merge tag along with any other text you want to display.
When you are finished creating the template, click the button at the bottom of the screen to save it. To manage some additional options for the template, click on the template in the list view.
Email campaigns allows you to maintain multiple versions of the content. Click on the Versions tab to see the versions available:
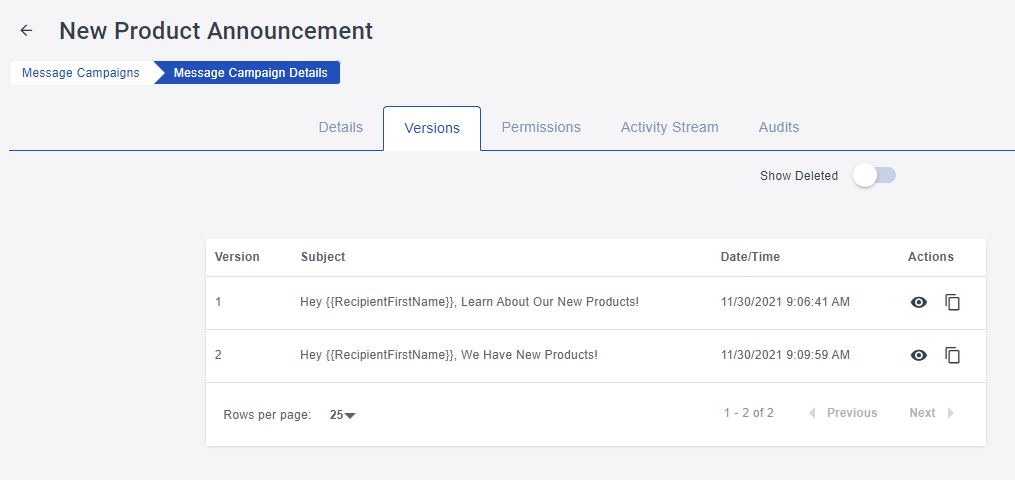
From here you can manage the content for each version or create a new version based on an existing version. You can set the active version in the Details tab, which is the version that will be made available to sales users in the portal.
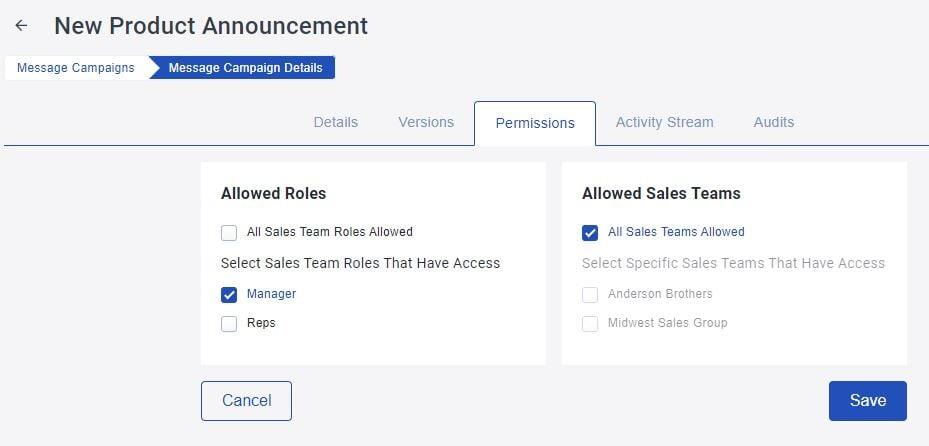
Like other tools in Brand Wings, you can define which sales teams and/or user roles are able to access this email campaign:
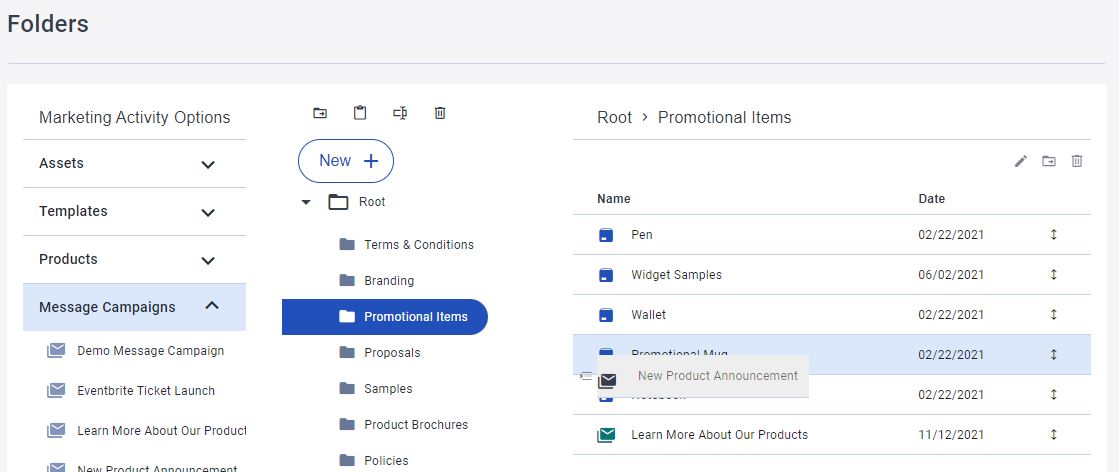
Now that the email campaign has been defined, we need to make it available in the portal. There are a number of ways to do this, depending on your business requirements. In this example, we are going to add it a folder which has already been made available in the portal by dragging and dropping it into a folder:
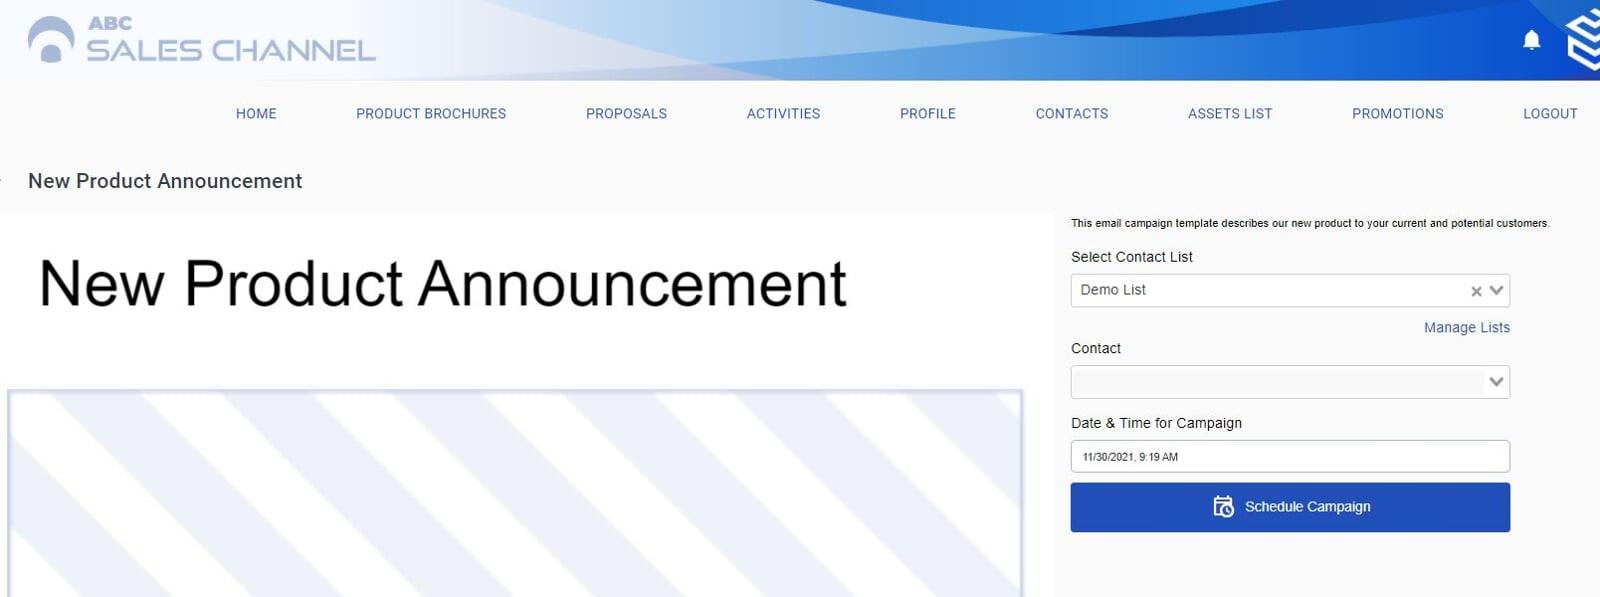
Sending out an email campaign is now extremely easy for your sales users.
1) The sales user can either select a contact list that they have already defined or to a single contact.
2) After selecting the recipient(s) for the email campaign, the salesperson has the option of scheduling the delivery of the email campaign for a future date or time.
3) After clicking the Schedule Campaign button, there is nothing additional for the sales user to do.
It's important to remember that if a contact is marked as not receiving emails, no email will be sent. This includes a contact unsubscribing from a previous email campaign.
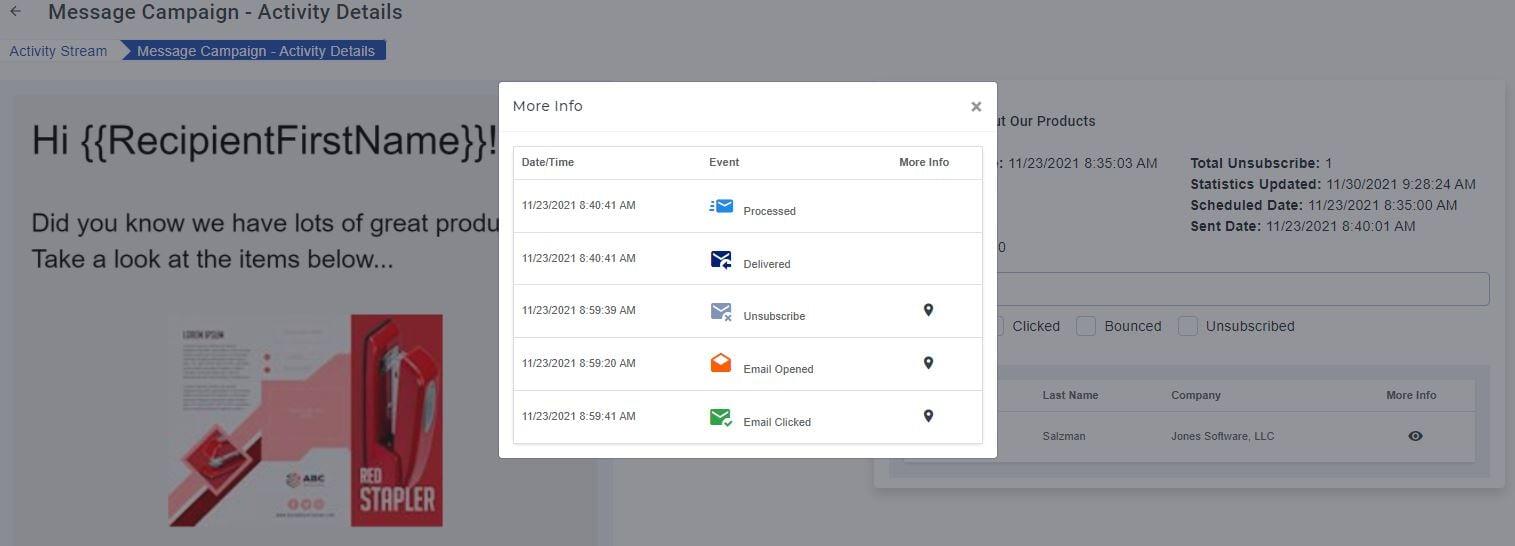
The activity stream will show when a sales person has sent out an email campaign. Clicking on the campaign in the activity stream shows a detail view. You will be able to see all recipients and quickly filter down to see which contacts opened, clicked, bounced, or unsubscribed in response to the campaign. Clicking on the More Info icon for any contact shows the history of the recipient's interactions with the campaign: